Monday, April 16, 2018

Clearing Fields with the Skid Steer

I spent roughly a day and a half of time with the skid steer on clearing some area of yaupon slightly downhill from the cabin.  


There is also evidence of the field being cleared in the past.  There are several piles of dirt and large rocks which were pushed together.  I focused on clearing the yaupon first but I'll need to address the piles as the yaupon will likely grow back and if I can't mow it then it can't be maintained.  

The goal is to create a two acre area downhill from the cabin which would add to the view and give us more area as the rest of the land is wooded.

Sunday, April 15, 2018

Electrical Service - Trench, Conduit, & Final Connections

Today, I shared the rental of a trenching machine with my dad.  We used the machine to trench the 100 feet from the service pole to the circuit box on the cabin.  The trench was 14" deep at the shallowest point which placed my 2" conduit a full 12" under ground.


With the trench complete, I glued together 10 pieces of schedule 40 PVC.  The 10th piece needed to be cut slightly in order to fit perfectly in the trench.  Once cut, I glued a 90 degree bend on each side and dropped the conduit into the trench.


With the conduit somewhat in place, I ran the electrical cable through the conduit with a pull rope in case I need to run anything through the conduit later.  I then cut two lengths of conduit and glued them to the 90's to complete the connection to the circuit breaker box on the cabin and the opposite side on the service pole.  


While the electrical cable I ran included an 8 gauge ground wire, I installed an 8' grounding rod at the cabin similar to what I installed at the electrical pole.  

A few connections later and the pre-wired cabin was ready.  It is quite nice to have electricity in the cabin.  It opens up several opportunities that did not exist before.  The timing was perfect as I took the week off work to stay the rest of the week at the cabin.  

Sunday, March 25, 2018

Pecan Grove - Planting Trees 2

Today, my son and I finished the job of planting the pecan trees. We planted the Nacono first.  The hole was quite easy to dig and was sandy loam soil without any rocks.  


We then planted the Waco variety a little deeper into the trees.  There is a small path to it which will need to be expanded some.  This area was also sandy loam with no rocks so it should be a good spot.


We saved the hole with rock at the bottom until last.  I was unable to dig up or break the rock so we moved 10 foot to one side and dug a new hole.  There was a large rock at the bottom of this hole also.  I believe I'm just hitting super compressed sand that has formed a layer of sandstone.  I was able to break through some of this with a breaker bar so I imagine the tree root should be able to as well.  The Oconee was planted in this spot.


The area I selected to plan the trees is very near my tank so I can get water there for them if needed.  There are very few decent trees in this area.  It is primarily cedar and youpon.  My plan was to plan the pecan trees in the area and slowly clear out other items as the pecan trees grow.

In the picture below, I have the Oconee in the foreground with the Cheyenne in the background.


Looking almost 180 degrees in the other direction, I have the Oconee in the foreground and the Pawnee in the background.


The following picture is not great but shows the location of each of the pecan trees I planted.  


Saturday, March 24, 2018

Pecan Grove - Planting Trees 1

While I'm not a tremendous fan of pecans, I do enjoy eating some every now and then.  My grandfather, however, was crazy about pecans and would eat the all the time.  We would pick them up under some trees near a stream on some family property when I was really young.  I've been planning to plant a few pecan trees in memory of my granddad since he passed away last September.  Today, I started that project.

I placed an order with Womack nursery for four varieties of pecan trees.  The order arrived on Thursday evening but included five trees.  They did not have the Choctaw variety so they gave me a Waco and Oconee instead.  With those changes to the order, I now have a Cheyenne, Oconee, Pawnee, Waco, and Nacono.  

The Cheyenne, Oconee, Waco, and Pawnee are all protandrous (early pollen shedding).  The Nacono is the only protogynous (late pollen shedding).  I'd originally ordered a Choctaw to have a pair of late pollen shedding trees which bloomed at the same time.  


The trees arrived packed in moss type material and then wrapped with plastic to keep the roots moist.  I added a little water on a few occasions while working so they would not dry out. 


The following two charts show the pollen shed and receptivity for the various pecan varieties.  The top chart is from Texas A&M.  The second chart is from LSU.  They don't exactly match but that could be because of the different regions.  I'm not sure what to trust so the more varieties the better. 


The first tree I planted was the Cheyenne.  The soil is mostly sandy loam but at about three feet down it is rather compacted red sand.  I first thought the red sand was clay but it just breaks apart in your hands so it is definitely sand.

The next was the Pawnee.  The soil is mostly sandy loam but it has a fair amount of little rocks.  While it should not matter, I tried to avoid putting larger rocks back in the hole.  I then put in half a bag of Sta-Green Tree & Shrub soil.

I started on a third tree but once I dug about three foot deep, I hit a really large rock.  The rock covers the bottom of my two foot round hole.  Most of the rocks are sandstone but I could not break this one and was a bit too tired to dig it up so I left it for now.  

For lunch, I had another ribeye.  They are becoming a bit of a tradition.

Friday, February 16, 2018

Day Trip with Steak Lunch

I took the day off the spend some time in the woods and cook a steak for lunch.  I found a nice spot which is somewhat clear and started setting up camp.

I started by making a little fire ring and made a fire.  I needed to get some coals started in preparation for a steak lunch.

The weather started to get a little questionable so I put up a tarp in case it rained.

Made a little tripod for the fire area but did not use it today.

And steak!

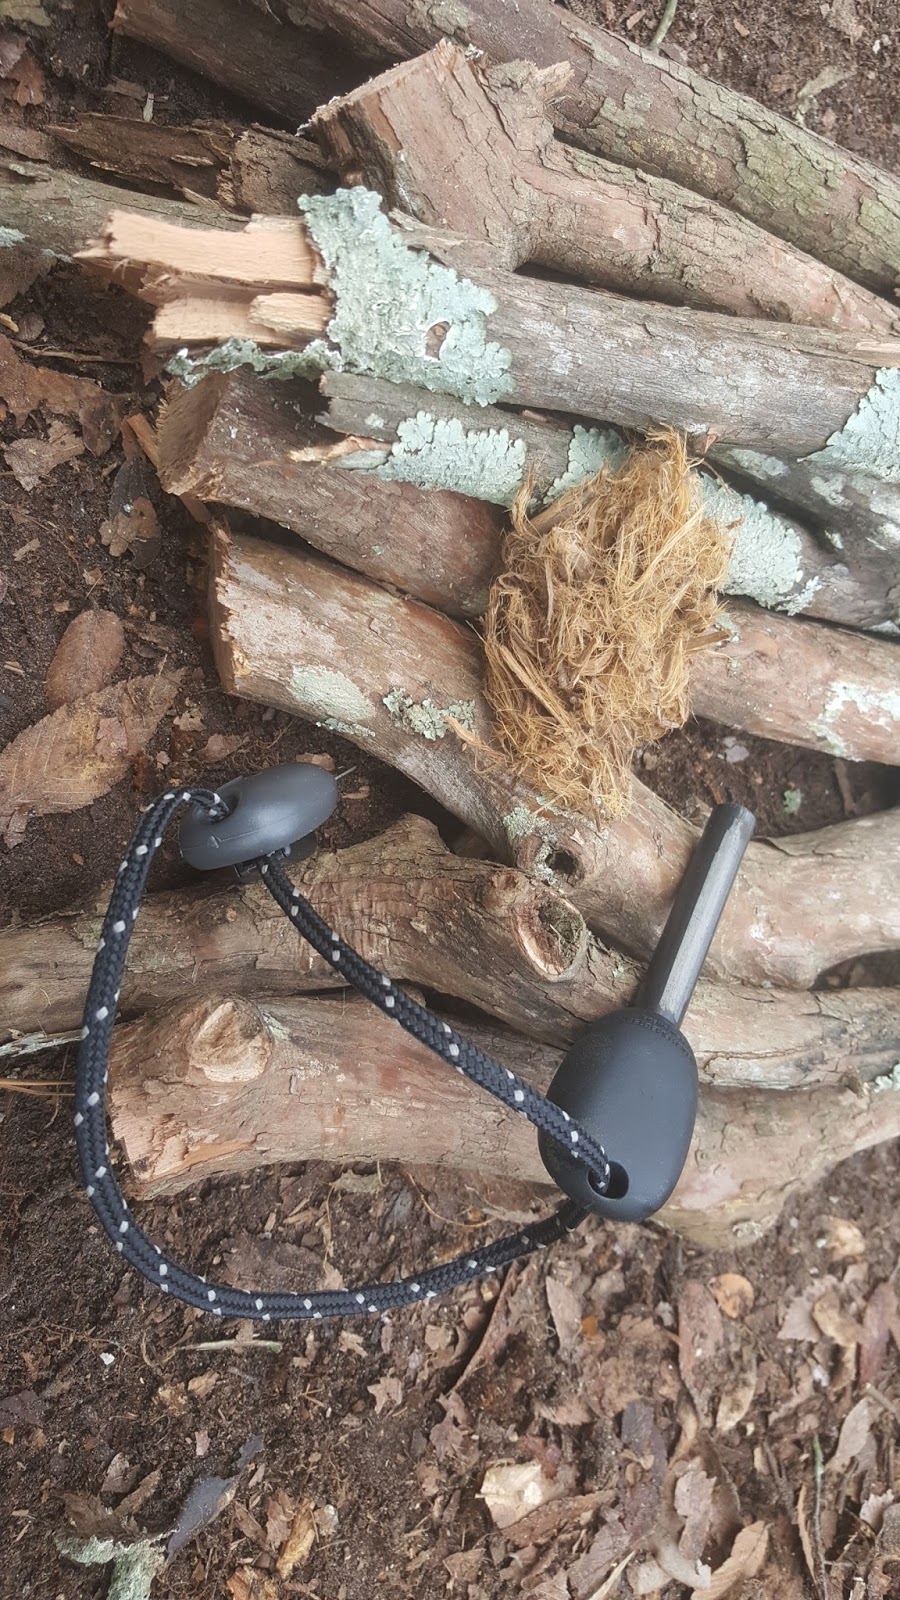
Experiments with Different Natural Tenders

Today I experimented with five different types of tender which are available on my property to see what works the best for starting a fire.  I'll put the in order of what worked the best to what to the most effort to light.

By far the easiest to light was some fat wood curls.  This took almost no effort as expected.


Next was some dry grass which I pulled apart and rubbed between my hands to get it nice and fluffy to catch a spark.


The next option was bark from a Juniper that I rubbed back and forth in my hands until adequately broken up and somewhat fluffy.  It started after a few tries but was not the easiest of the items I tried.


I also tried just simple curls made from a Cedar Elm and they lit rather easily.  The thinner the curls the better.


Last, I was able to light some pine needles.  I cut and scrapped these with my knife to get them to catch a spark.  I thought they might light easier but they actually took a little work.


Saturday, January 6, 2018

Bark River Knife Set - North Country EDC &Featherweight Fox River

This set of Bark River knives were purchased along with a dual knife sheath for hunting.  The smaller of the two knives is a Featherweight Fox River and works exceptionally well for cleaning a deer.  The slightly larger of the two is a North Country EDC which was selected for skinning deer.

The knives are exceptionally nice.  They are both first production knives.  At this point they have only been used to process one deer.  The downside I noticed then was that the handles would get slippery with blood.  

Bark River North Country
Overall Length: 7.775
Blade Length: 3.5
Blade Thickness: .156
Steel: A2

Bark River Featherweight Fox River
Overall Length: 7.125
Blade Length: 3.125
Blade Thickness: .093

Steel: Elmax